Décorer Un Gateau Pate A Sucre

Okay, picture this: last year, my niece Léa turned six. For weeks, she'd been insisting on a princess-themed birthday party. I, being the cool aunt (at least, that's what I tell myself), volunteered to make the cake. A grand, pink, princess-worthy cake. I envisioned myself as a culinary artist, sculpting fondant roses and shimmering tiaras. Reality? Let's just say it looked more like a melted marshmallow monster wearing a slightly-off crown. The lesson learned? Pâte à sucre is not as easy as it looks on YouTube.
But hey, we live and learn! And that's exactly why I'm writing this. I want to share some tips and tricks I've picked up (the hard way, mind you) so that your pâte à sucre cake decorating adventures end in triumph, not in tears and frosting-covered meltdowns. Because, let's be honest, a beautifully decorated cake is the pièce de résistance of any celebration.
Understanding Pâte à Sucre
First things first: what is pâte à sucre anyway? Simply put, it’s a sugar paste (hence the name!) that you can mold, sculpt, and roll out to cover cakes and create decorations. It’s basically edible playdough for adults (or, you know, kids who are really good at baking). You can buy it pre-made in a rainbow of colors, or, if you're feeling ambitious, make it from scratch. Personally, I stick to the pre-made stuff. Life's too short to wrestle with boiling sugar, right?
Must Read
Important Tip: Quality matters! Cheaper pâte à sucre can be dry, crumbly, and impossible to work with. Invest in a decent brand; your sanity will thank you.
Tools of the Trade
Now, let’s talk tools. You don't need to break the bank, but a few essentials will make a world of difference. Here's my "must-have" list:
- A Rolling Pin: A smooth, non-stick rolling pin is crucial for rolling out your pâte à sucre evenly. Forget wooden ones; go for silicone or plastic.
- Cornstarch or Powdered Sugar: This prevents the pâte à sucre from sticking to your work surface. A light dusting is all you need.
- Smoothers: These are magical little tools that help you achieve a flawless finish on your cake. Trust me, they're worth the investment.
- Cutters and Molds: For creating shapes and decorations. Cookie cutters work great, too!
- Edible Glue: To stick decorations to your cake. You can even make your own with a little water and Tylose powder.
And, of course, don't forget a good, sturdy turntable! It makes decorating so much easier. You can find affordable ones online, and you'll wonder how you ever lived without it. (Seriously, I named mine "Spinny McSpinface." Don't judge.)
The Art of Covering a Cake
Okay, this is where things can get a little tricky. Here’s the basic process:

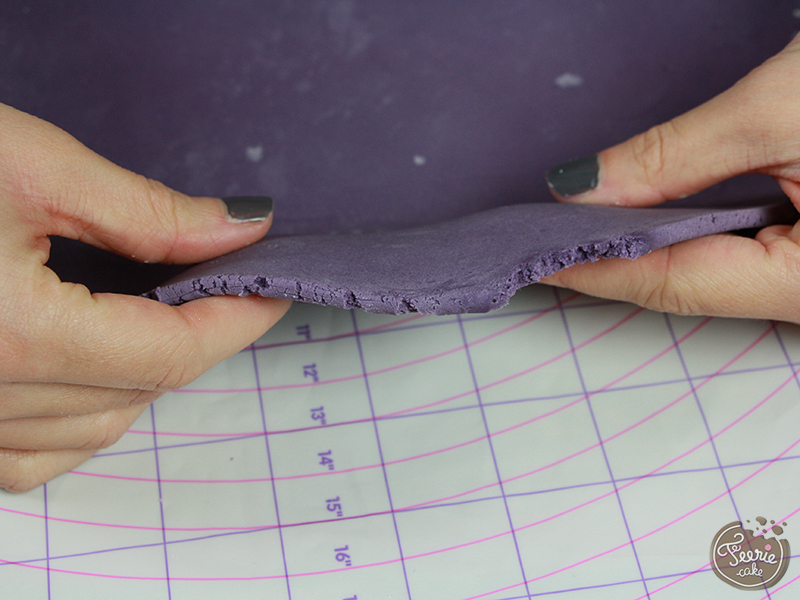
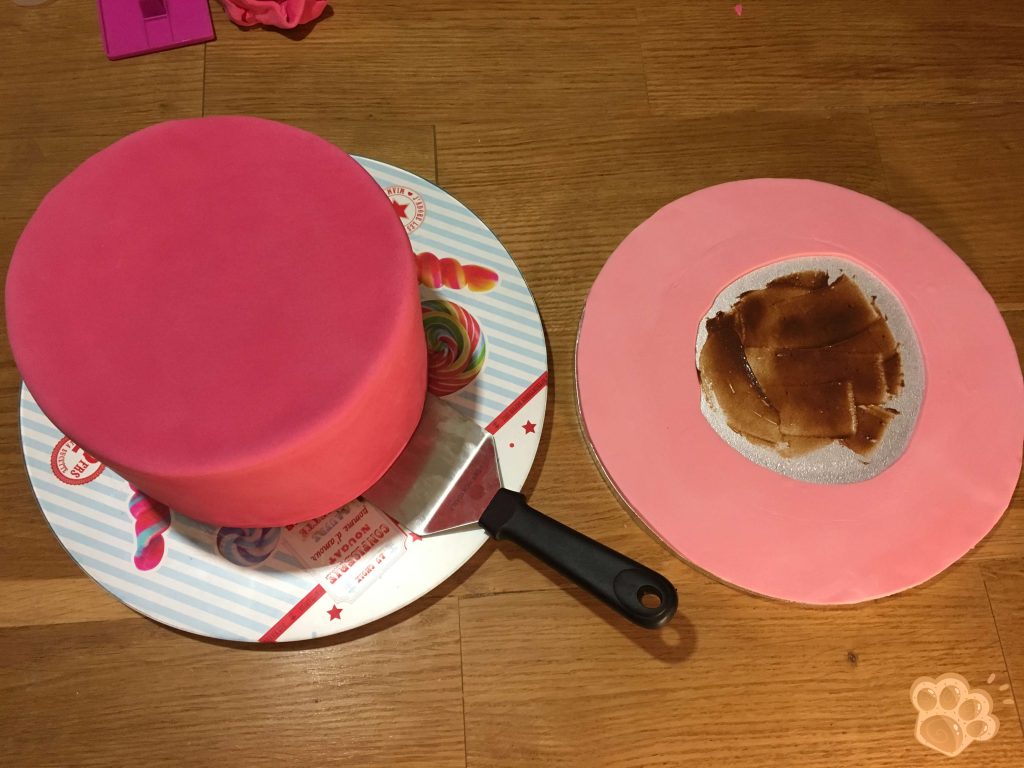
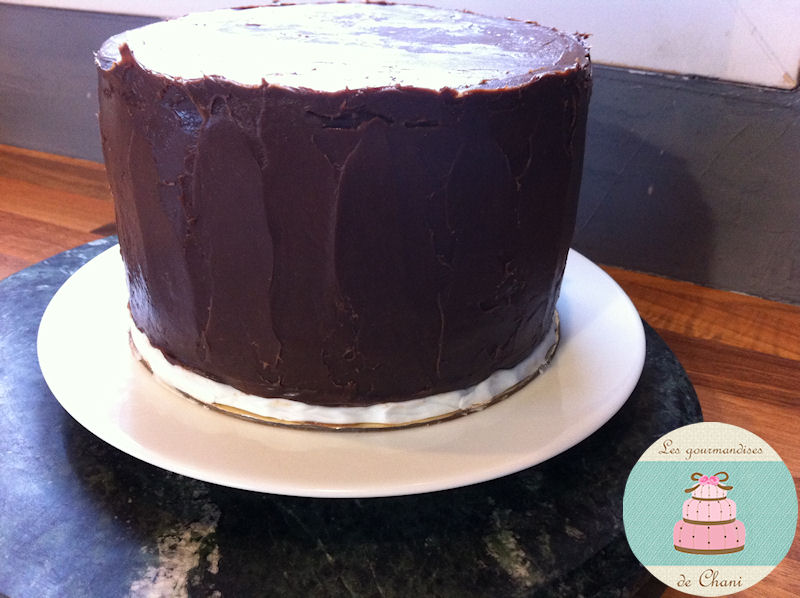
- Prepare your cake: Make sure it's completely cooled and covered in a thin layer of buttercream or ganache. This acts as a glue for the pâte à sucre.
- Roll out your pâte à sucre: Aim for an even thickness, about ¼ inch. Don't roll it too thin, or it will tear easily.
- Carefully lift the pâte à sucre: Drape it over your rolling pin and gently transfer it to your cake.
- Smooth it out: Use your smoothers to get rid of any air bubbles and wrinkles. Work from the top down.
- Trim the excess: Use a sharp knife or pizza cutter to trim away the excess pâte à sucre around the base of the cake.
Pro Tip: Don't panic if you get a tear! You can usually patch it up with a little extra pâte à sucre and some smoothing magic. And remember, imperfections add character! (That’s what I tell myself, anyway.)
Adding Decorations
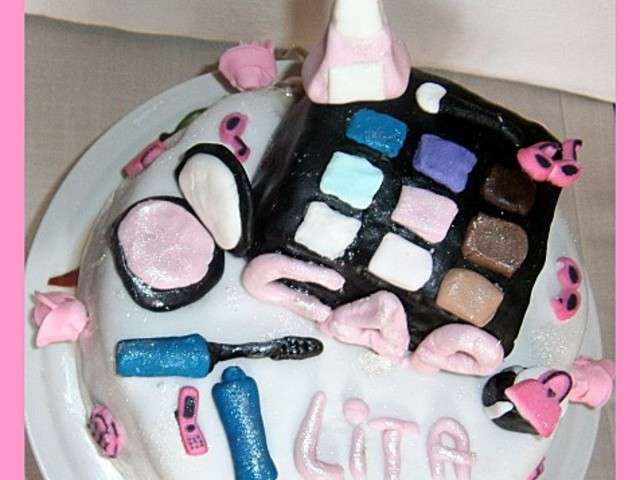
This is the fun part! Now you get to unleash your creativity. Use your cutters, molds, and edible glue to add decorations to your cake. Think flowers, shapes, characters, anything your heart desires. Don't be afraid to experiment!
One last thing: Practice makes perfect! Don't get discouraged if your first attempt isn't a masterpiece. Just keep practicing, and you'll be creating stunning cakes in no time. And hey, even if it's a melted marshmallow monster, as long as it tastes good, that's all that matters, right?