Comment Faire De La Frisure De Papier
Okay, so picture this: I was at a party last weekend, and someone had gone all out on the decorations. Think Pinterest-level chic, you know? And scattered around the tables, adding this perfect little touch of whimsy, was... wait for it... frisure de papier. I was mesmerized. Seriously, it looked so effortlessly elegant. My first thought? "I need to know how to do this!" My second thought? "Is it actually hard, or am I just being craft-challenged?" (Don't answer that. We all know the truth.)
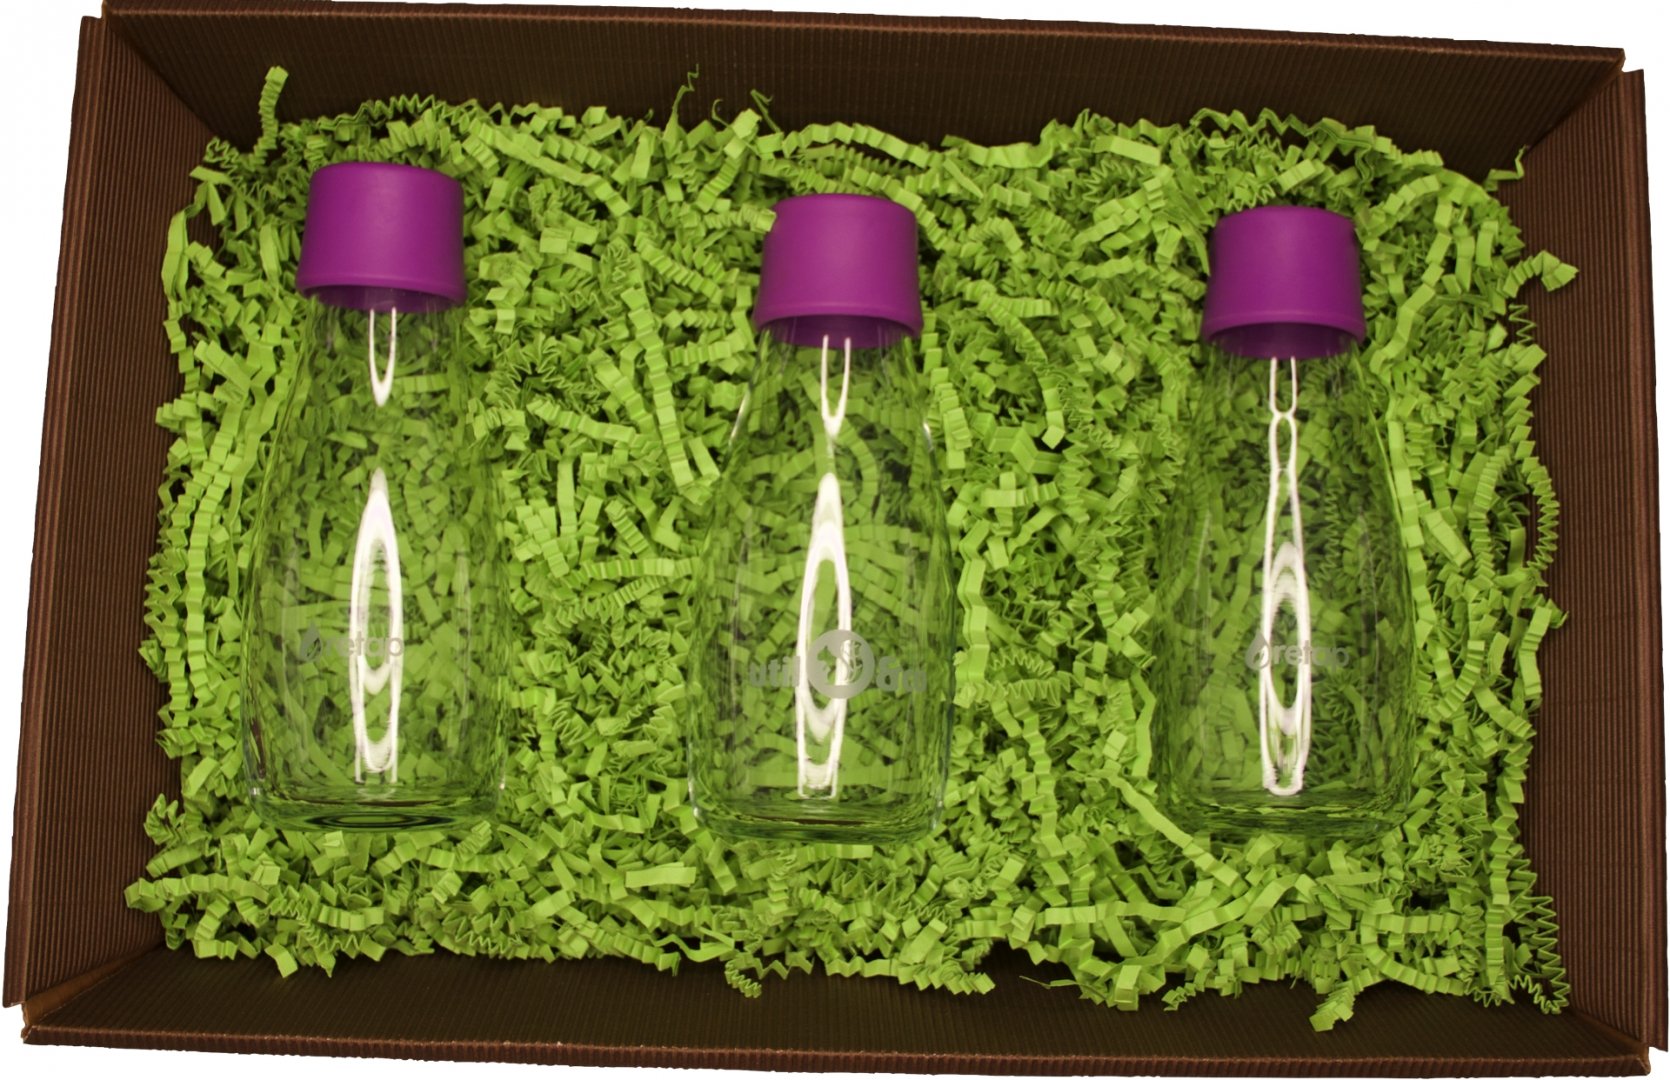
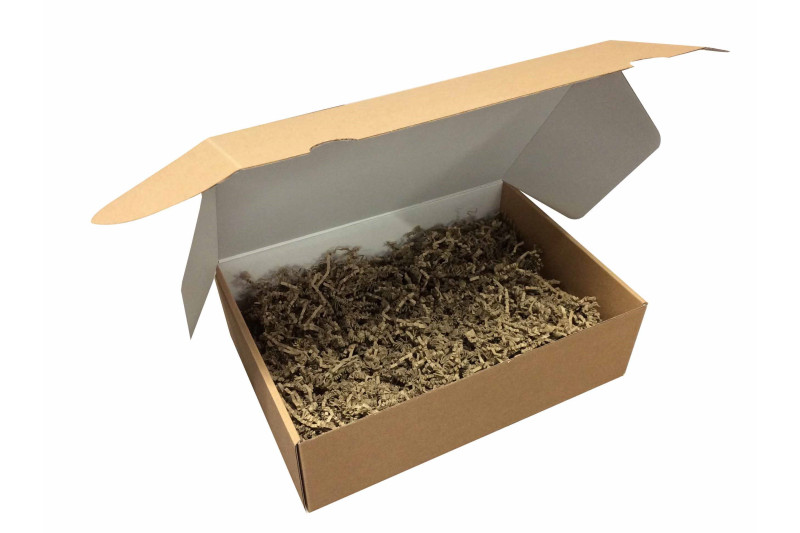
And that, mes amis, is how I ended up diving headfirst into the world of making my own frisure de papier. Turns out, it's surprisingly easy! And frankly, a little bit addictive. Think of all the possibilities! Gift wrapping, party decorations, even just adding a bit of flair to your workspace. The power is in your hands!
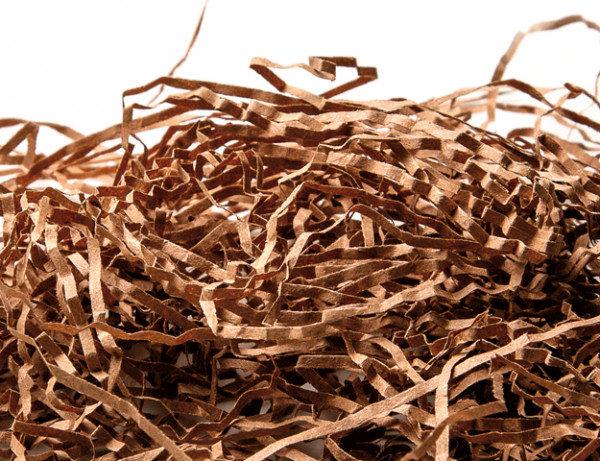
What Exactly Is Frisure de Papier, Anyway?
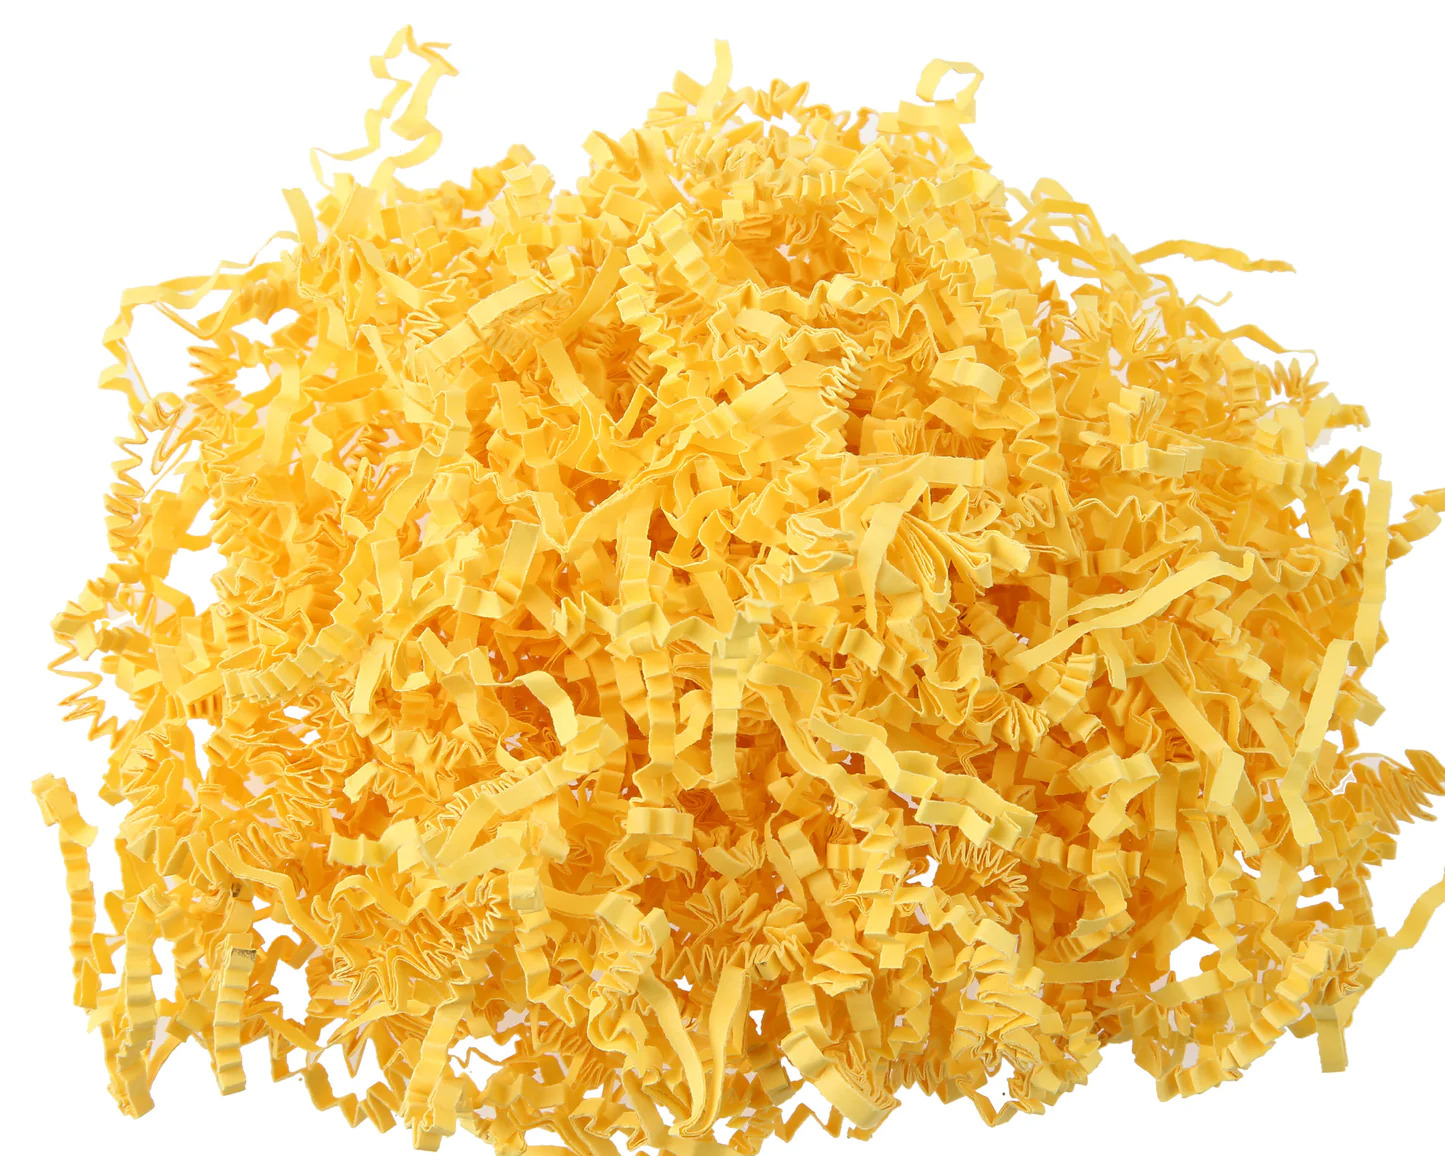
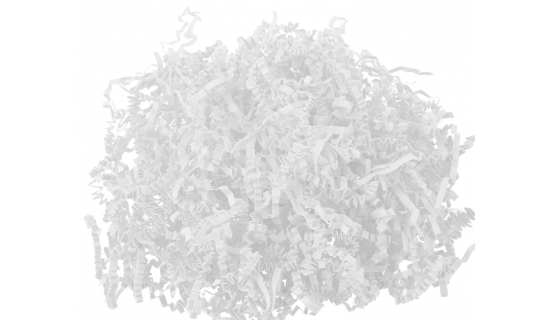
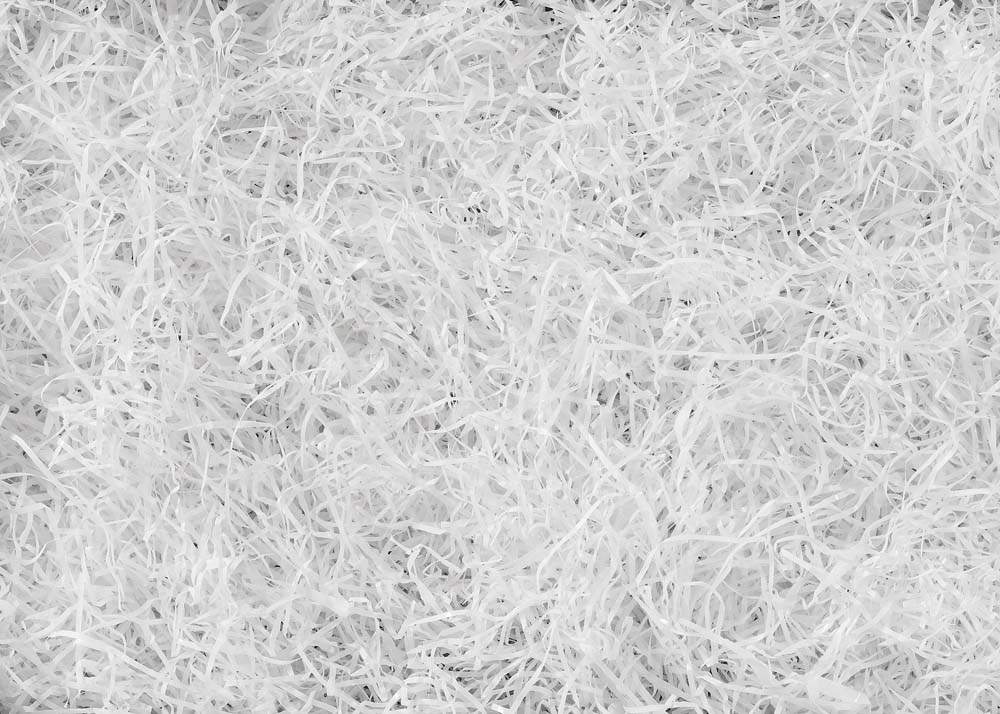
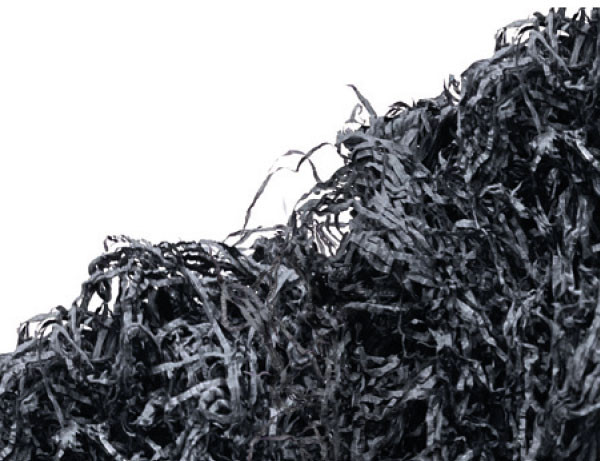
Basically, it’s just curled paper. Fancy curled paper, sure, but still. Curled paper. It adds texture and dimension to pretty much anything. It's like the sprinkles of the craft world. Who doesn't love sprinkles?
Must Read
The Simple Steps to Paper Curls Glory!
Alright, let’s get down to business. Here’s the lowdown on making your own frisure de papier:
What You'll Need:

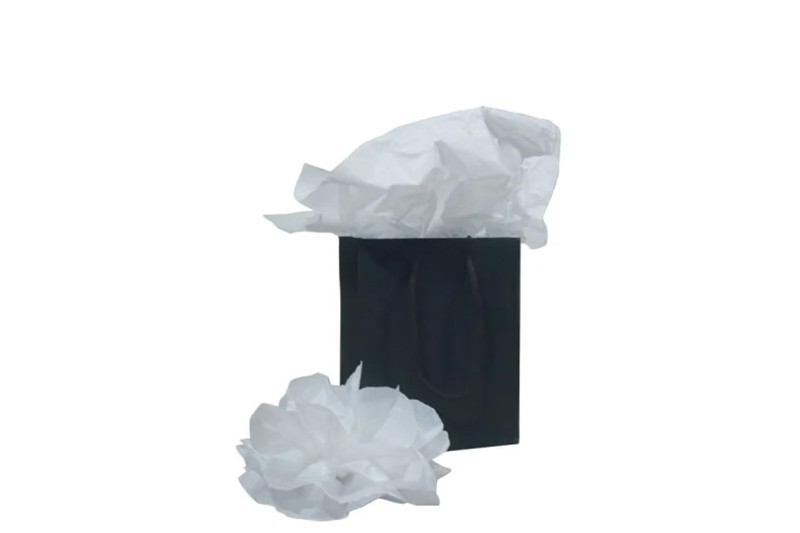
- Paper: This is crucial. Experiment! Tissue paper, crepe paper, even thin wrapping paper works. The thinner the paper, the easier it is to curl, but don't be afraid to try thicker options for a more robust look. Just saying...
- Scissors: A good sharp pair is your friend. Dull scissors will lead to frustration and potentially jagged edges. Trust me on this.
- A Ruler or Straight Edge: Helps keep your cuts nice and even. Unless you're going for a deliberately uneven look, which is totally valid too. You do you!
The Process:
1. Cut the Paper: Use your ruler to cut the paper into thin strips. The width of the strips will determine the size of the curls. Experiment to find what you like best. A general starting point is around ¼ inch to ½ inch wide. The longer the strips, the more dramatic the curl will be.
(Side note: This is where you can unleash your inner perfectionist... or not. It’s all good.)
2. The Curling Action: Take one strip of paper. Place the blade of your scissors against the strip of paper, gently holding it in place with your thumb. Now, slowly and carefully pull the paper along the blade, using your thumb to apply light pressure. The paper will curl as it moves. Don’t apply too much pressure at once or you could risk tearing the paper. Practice makes perfect, so don’t get discouraged if your first few attempts aren’t exactly picture-perfect!

3. Repeat, Repeat, Repeat: Continue curling the remaining strips of paper. This is where you can put on some music, listen to a podcast, or just zone out and enjoy the process. It’s actually quite therapeutic. Or at least, I tell myself that when my hands start to ache. Frisure de papier needs patience!
Tips and Tricks to Up Your Frisure Game
Vary the Pressure: Applying more or less pressure with your thumb will affect the tightness of the curl. Play around with it to create different effects!
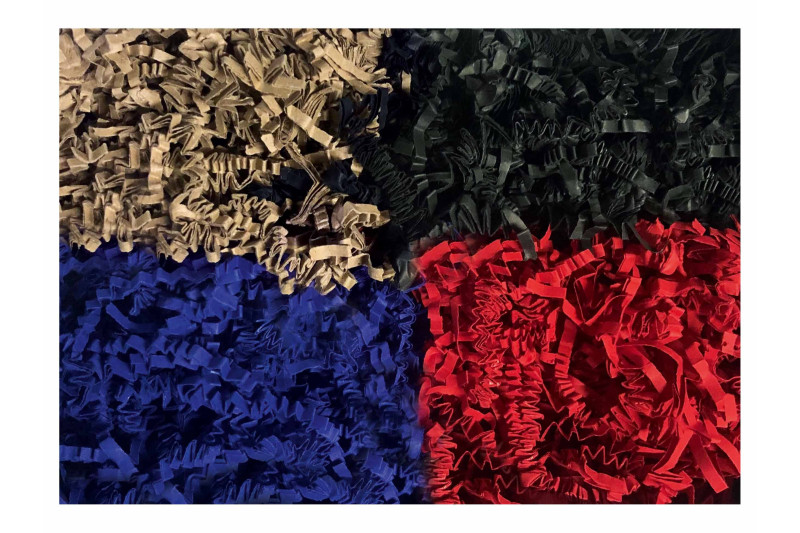
Different Papers, Different Looks: Try different types of paper to achieve different textures and effects. Crepe paper creates a softer, more romantic look, while metallic paper adds a touch of glam. The possibilities are endless!
Don't Be Afraid to Experiment: This is where you can really let your creativity shine. Try curling the paper in different directions, or even cutting the strips into different shapes before curling them. There are no rules, people!
Practice Makes Perfect: The more you practice, the better you'll become at curling paper. So don't give up if your first few attempts aren't perfect. Just keep at it, and soon you'll be a frisure de papier pro! Remember, the best creations are often the result of happy accidents. Have fun and embrace the imperfections. Your frisure de papier will be magnifique!