Comment Enlever Du Crépi Sur Un Mur Extérieur

Okay, picture this: I’m standing there, covered in dust, looking like I’d just lost a fight with a bag of cement. My neighbor, Jean-Pierre, is shaking his head, muttering something about "jeunes et l'impatience". Why? Because I thought I could just magically peel off the exterior render (that's "crépi" for you fancy folks) on my house with a putty knife. Jean-Pierre, bless his experienced heart, knew better. That day, I learned that removing exterior render isn't exactly child's play. But hey, we all gotta learn, right? And now, I'm here to share my hard-earned, dust-filled knowledge with you!
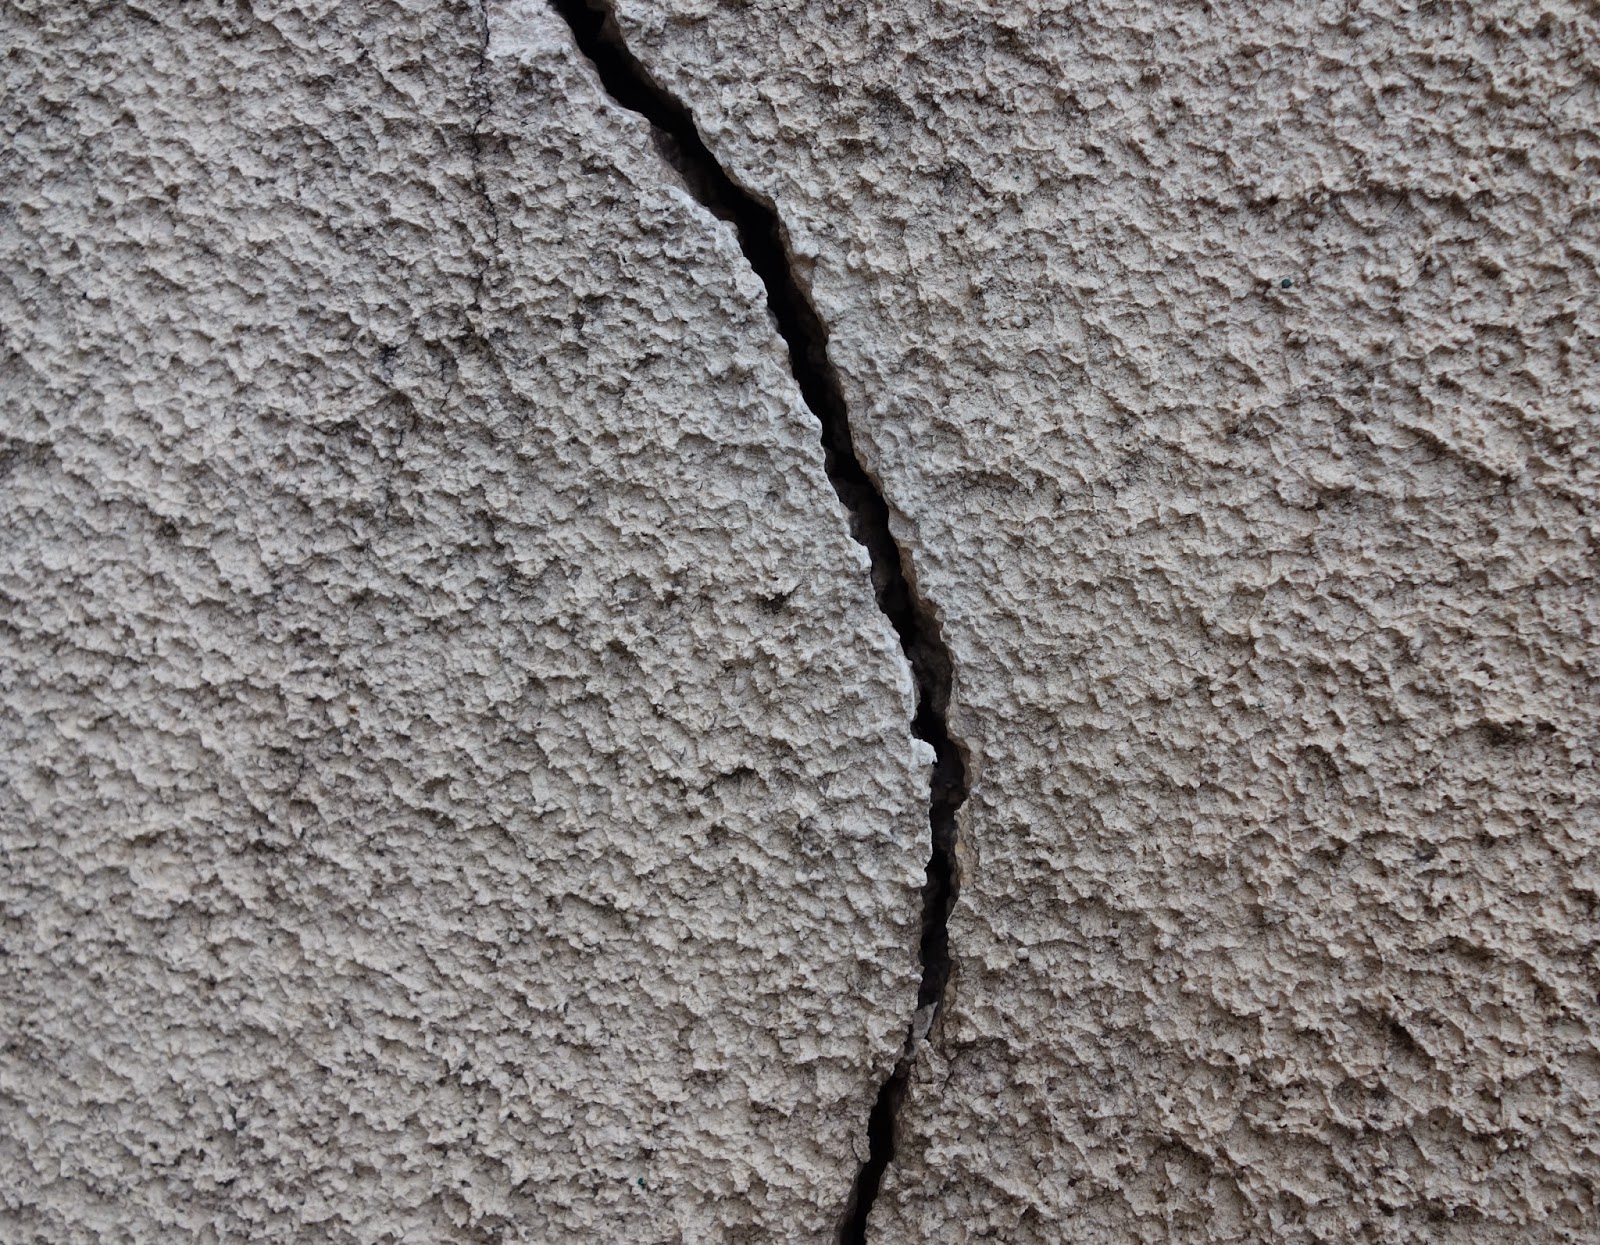
So, you want to get rid of that textured coating on your outside walls? First off, good for you! Maybe you're going for a more modern look, or perhaps you've discovered some underlying issues (water damage, anyone?). Whatever your reason, removing crépi is definitely a project you can tackle yourself, with a little elbow grease and the right tools.
What You'll Need (The Arsenal!)
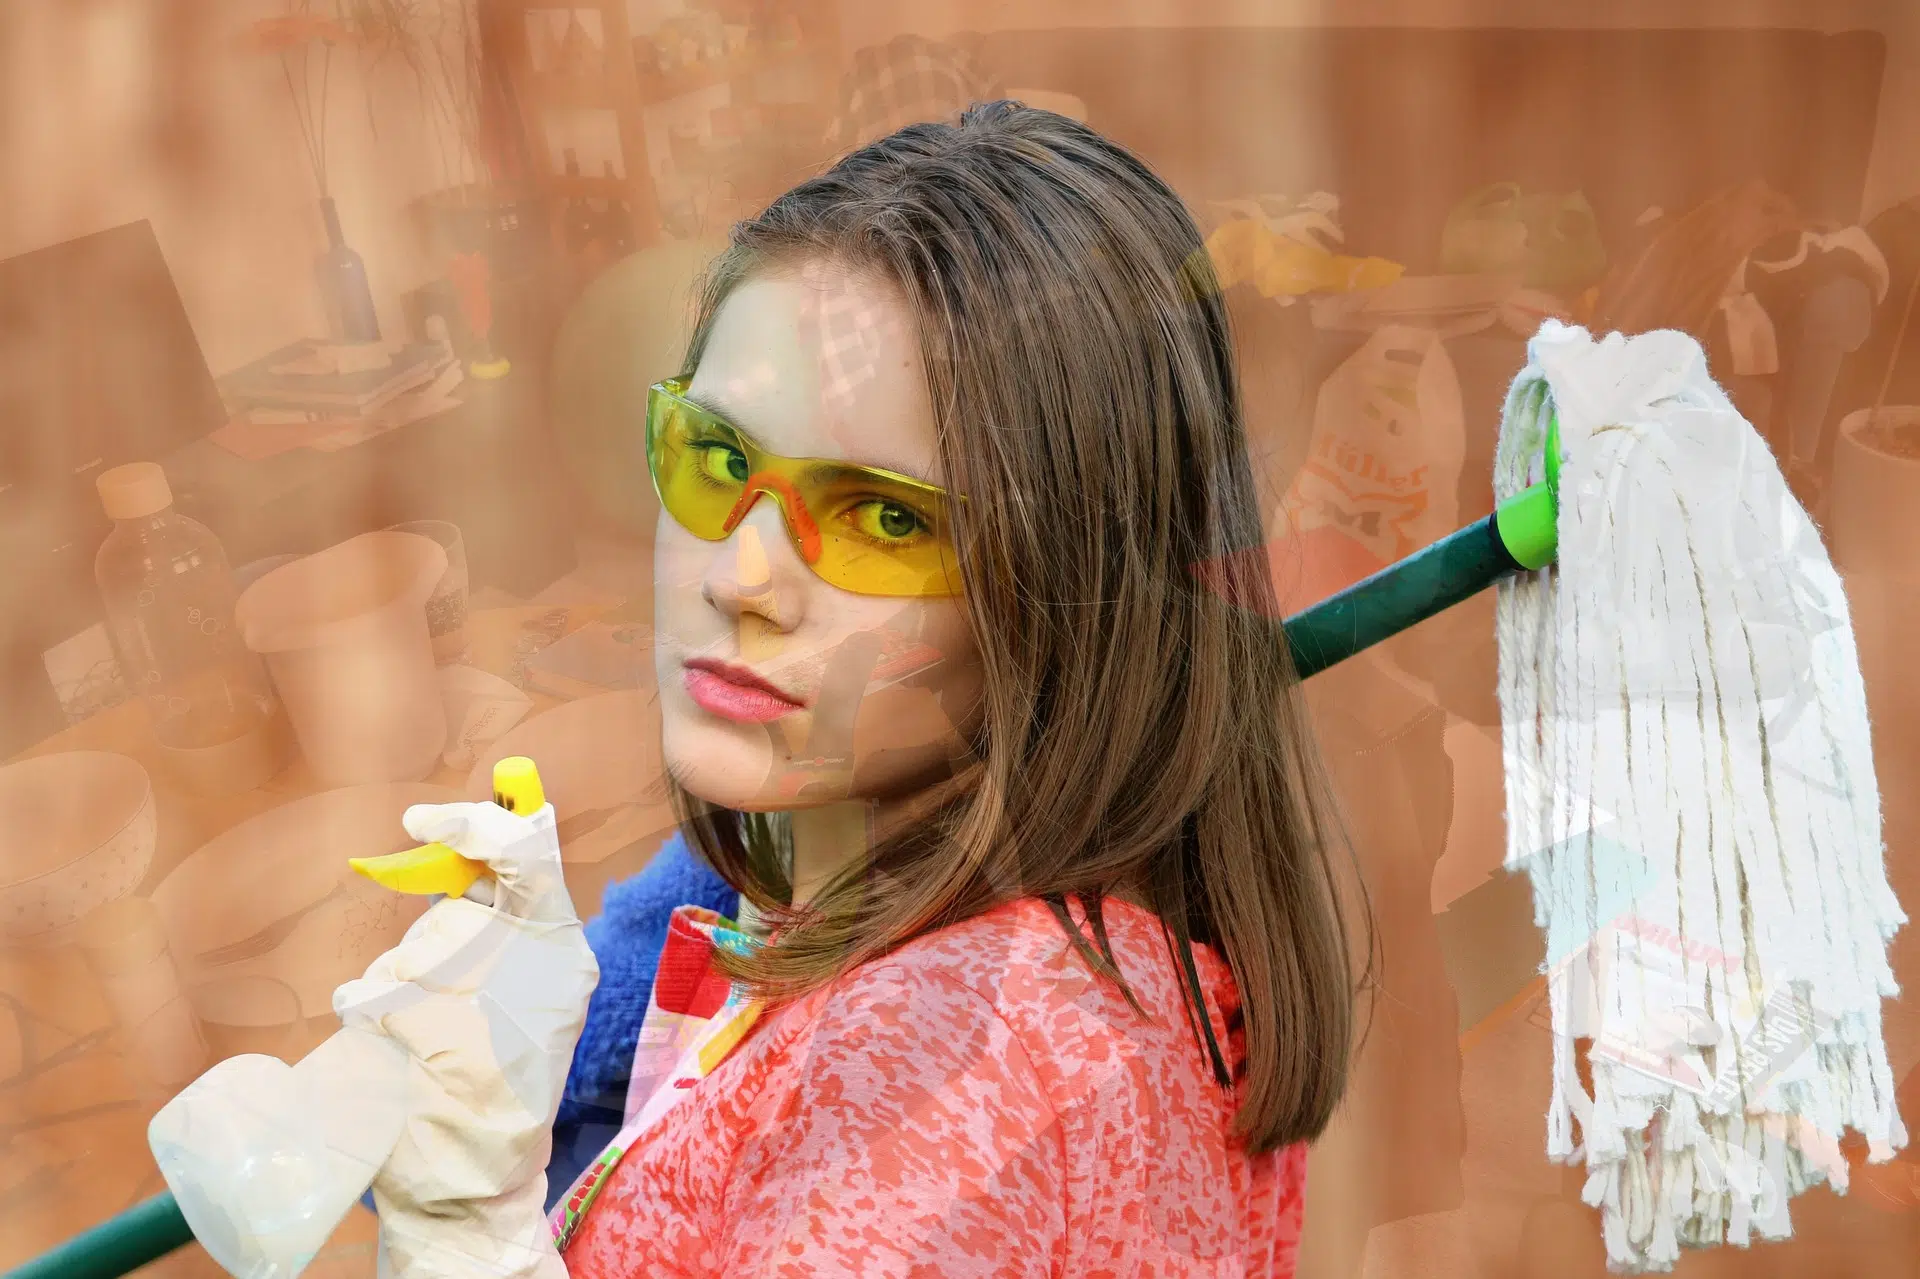
Alright, let's talk tools. This isn't a job for just any hammer and chisel. Safety first! Always wear safety glasses, gloves, and a dust mask. Seriously, you don't want to be breathing in that stuff. Trust me.
Must Read
- A good scraper: This is your main weapon. Look for one with a wide blade and a comfortable handle.
- A hammer: For those stubborn bits that just won't budge. (Gentle taps, people, gentle taps!)
- A chisel: Similar to the scraper but for precision work. Think of it as the sniper rifle of crépi removal.
- A wire brush: To clean up the surface after you've removed the bulk of the crépi.
- A pressure washer: Optional, but highly recommended. It can make a huge difference, especially with softer renders. Consider renting one if you don't already own one.
- Plastic sheeting: Protect your windows, doors, and landscaping. Trust me, your plants will thank you.
- Buckets and sponges: For cleaning and wiping.
- (Possibly) a chemical stripper: For really stubborn crépi. Use with caution and follow the instructions carefully. This stuff can be nasty.
The Process: Let's Get To Work!
Now for the fun part! (Okay, maybe "fun" is a strong word. Let's say... productive.)
Step 1: Prep the Area. Cover everything you don't want covered in dust and debris. This is where the plastic sheeting comes in.
Step 2: Wet the Crépi. This helps to soften it up and makes it easier to remove. If you have a pressure washer, now's the time to use it! Otherwise, a garden hose will do the trick.
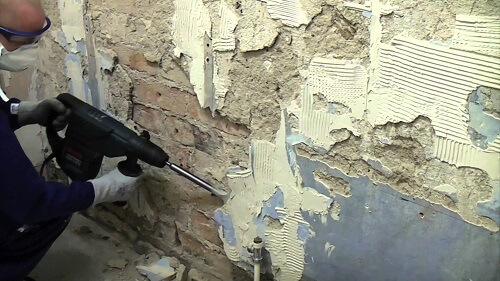
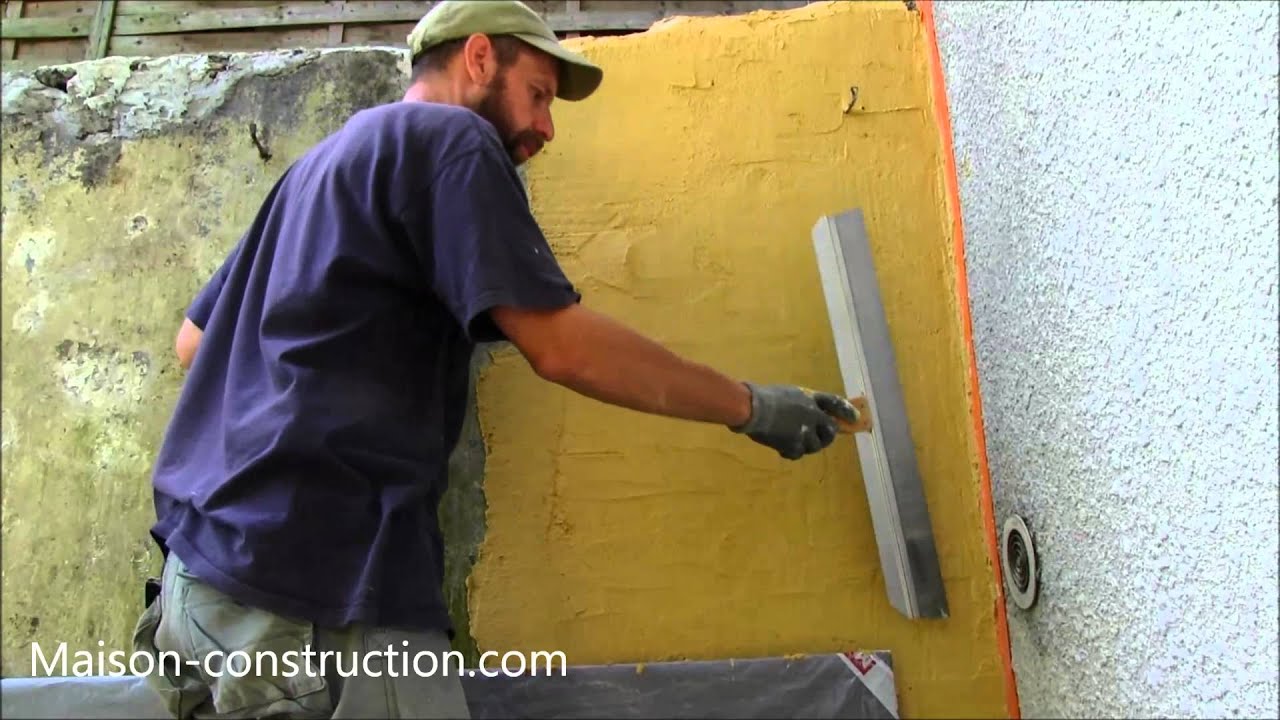
Step 3: Start Scraping. Using your scraper, begin removing the crépi. Apply steady pressure and work in small sections. This is where the elbow grease comes in. Remember what Jean-Pierre said about patience?
Step 4: Stubborn Spots? If you encounter areas that are particularly difficult to remove, try using the hammer and chisel. Be careful not to damage the wall underneath!
Step 5: Clean Up. Once you've removed the bulk of the crépi, use the wire brush to clean up the surface. This will remove any remaining debris and smooth out any rough spots. If you used a pressure washer, give the wall another rinse.
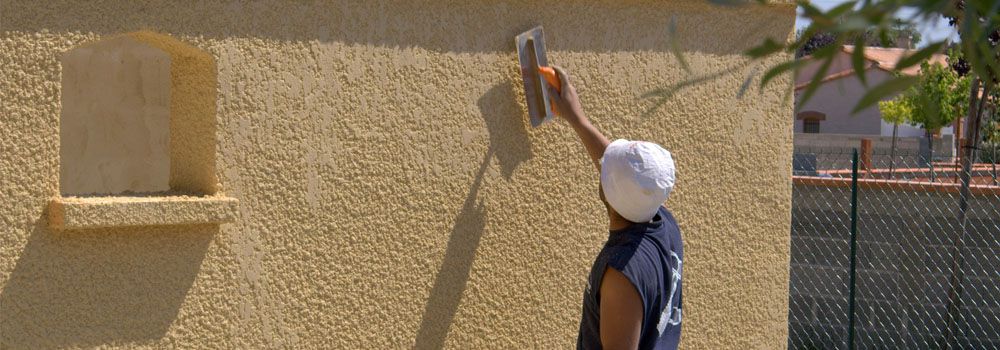
Step 6: Inspect and Repair (If Needed). Now's the time to check for any damage to the underlying wall. Fill any cracks or holes with patching compound and let it dry completely.

Step 7: Consider a Chemical Stripper (Only if Necessary). If the crépi is really stuck, you might need to use a chemical stripper. Follow the manufacturer's instructions carefully and wear appropriate safety gear. This is your last resort.
Important Considerations (Don't Skip This!)
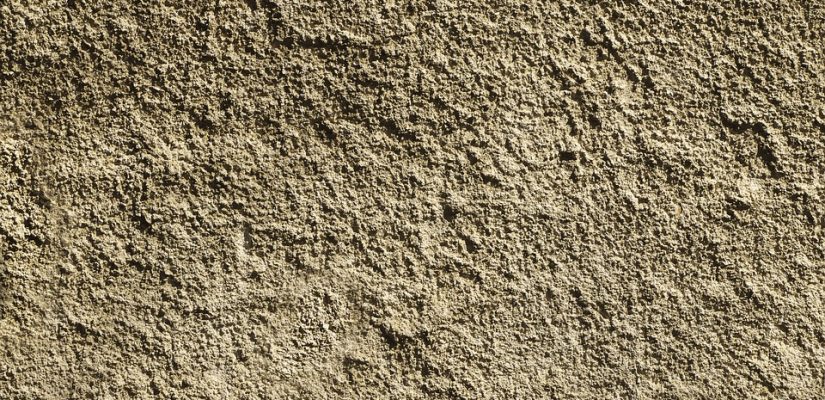
Type of Crépi: The type of crépi you're dealing with will affect the removal process. Some types are softer and easier to remove than others. Do some research to find out what kind you have. (Is it acrylic? Cement-based? Knowledge is power!).
Underlying Wall Material: Be careful not to damage the underlying wall. If you're working with brick or stone, you'll need to be extra cautious.
Asbestos: If your house was built before the 1990s, there's a small chance that the crépi could contain asbestos. If you're concerned, have it tested by a professional. Don't mess with asbestos yourself!
Removing crépi is a labor-intensive job, but it's definitely doable. Just remember to take your time, use the right tools, and prioritize safety. And if you get stuck, don't be afraid to ask for help from a friend or a professional. Good luck, and may the dust be ever in your favor!