Modèle De Bracelet En Perle à Faire Soi-même

Okay, so picture this: me, last summer, panicking. Why? Because I'd promised my niece, Léa, a super cool bracelet for her birthday, and I'd COMPLETELY forgotten. Like, utterly and devastatingly forgotten. No time to buy one, all the stores were closed... disaster, right? But then, a flash of inspiration! I remembered that dusty box of beads in the attic. Time to get crafty (or at least try to get crafty!).
And you know what? It actually worked! Léa LOVED the bracelet. And I, my friends, discovered a hidden talent (or at least a tolerance) for DIY jewelry. So, if a disaster-prone aunt like me can do it, trust me, you can too!
Which brings me to the point: beaded bracelets are awesome. They're fun, they're relatively easy, and they're a fantastic way to express your personality. Plus, you get major bragging rights when people ask where you bought it and you can smugly say, "Oh, this old thing? I made it." (Don't worry, I won't tell anyone you almost forgot Léa's birthday).
Must Read
So, Where Do We Start? Les Bases!
First things first: supplies! Don't worry, you don't need a degree in crafting to gather these. Here's the basics:
- Beads: Obvious, right? But seriously, the sky's the limit! Glass beads, wooden beads, seed beads, letter beads, even those weird plastic beads you find at the bottom of your junk drawer... they all work! (Pro tip: raid your kids' craft supplies when they're not looking. Just kidding... mostly.)
- Stringing material: This could be elastic cord, beading wire, or even strong thread. Elastic is easiest for beginners, especially for bracelets that need to stretch.
- Scissors or wire cutters: To cut the stringing material, duh.
- Optional: Bead board (helps keep beads from rolling everywhere), clasp (if you're not using elastic), crimp beads (for securing the ends of wire).
See? Nothing too scary. You probably have half of this stuff lying around already.

Modèles, Modèles, Modèles! Let's Get Inspired
Now for the fun part: design! There are so many bracelet styles you can create. Here are a few ideas to get your creative juices flowing:
- Single Strand: The simplest and most classic. Just string beads onto your chosen material in a pattern you like. You can alternate colors, sizes, or even add charms.
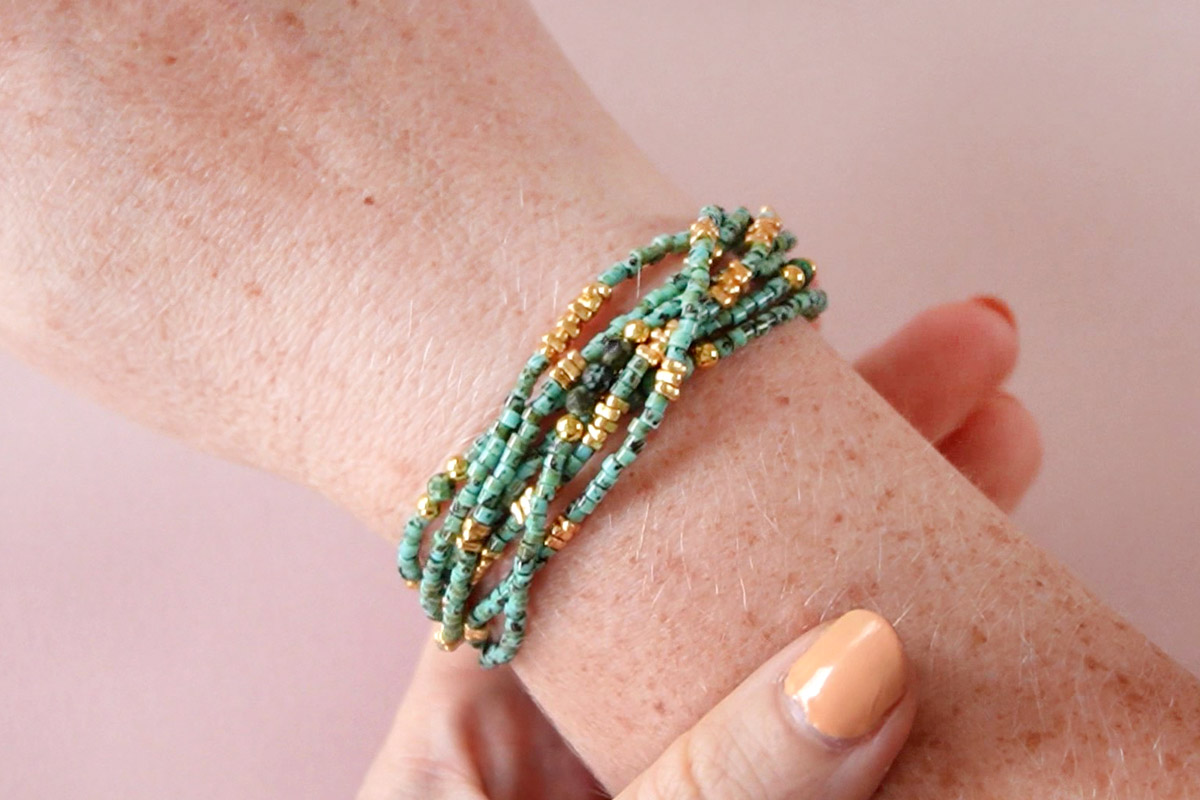
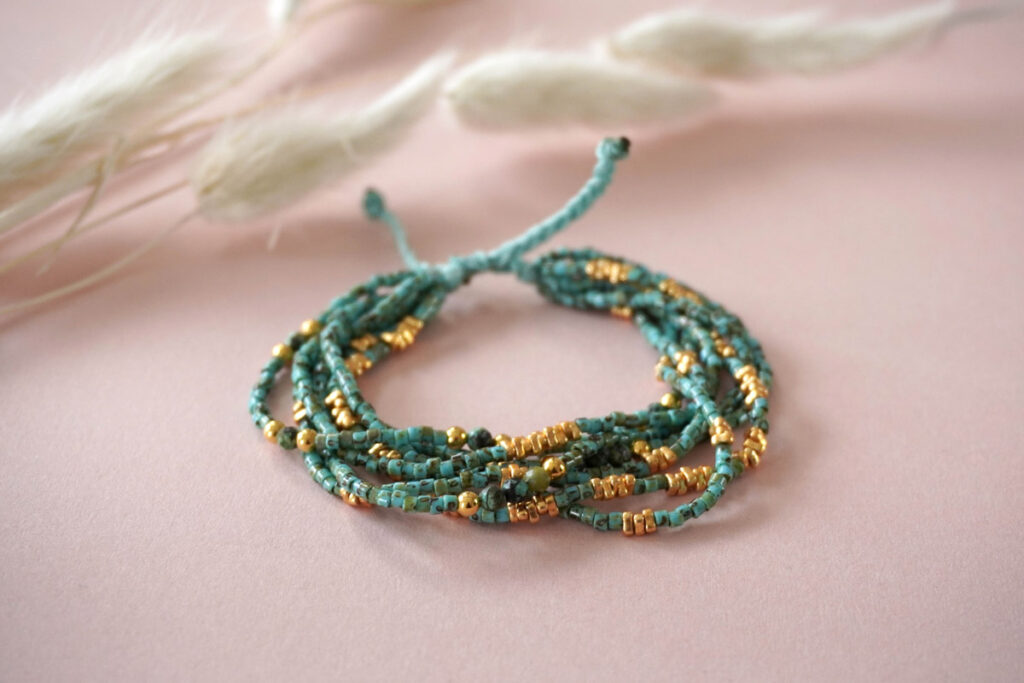
- Multiple Strand: String several strands of beads together for a layered look. This is great for using up leftover beads! (My personal favorite: because who doesn't have leftover beads?).
- Patterned: Create a specific pattern using different colored beads. Think stripes, chevrons, or even more intricate designs.
- Letter Beads: Spell out a name, a word, or a phrase. Perfect for personalized gifts! "Best Aunt Ever" perhaps? (Just kidding... unless?).
Don't be afraid to experiment! The beauty of DIY is that there are no rules. (Except maybe don't glue beads to your cat. That's probably a bad idea).
Le Processus: Stringing it All Together
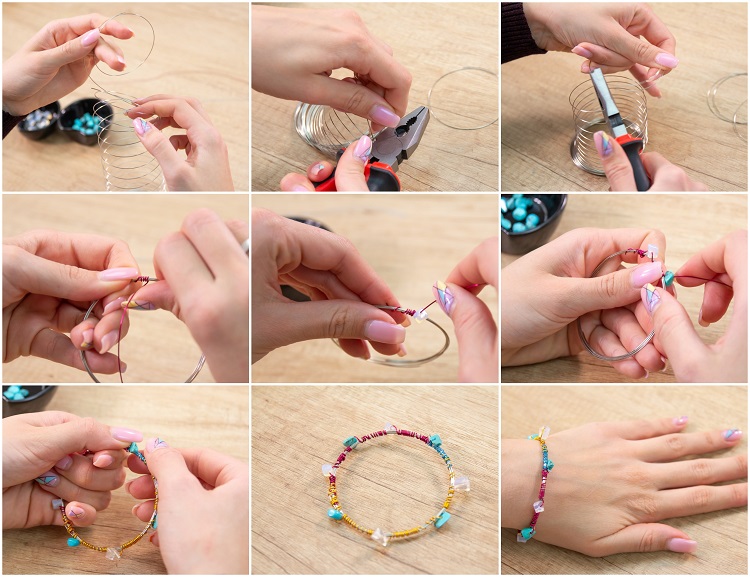
Okay, so you've got your supplies, you've got your design... now it's time to actually make the bracelet! This is the part where you might need to focus (a little bit). Here's a basic rundown:
- Measure your wrist: Add an inch or two for comfort.
- Cut your stringing material: Make sure it's long enough to accommodate all the beads and have some extra for tying or attaching a clasp.
- Start stringing! Follow your chosen pattern.
- Secure the ends: If you're using elastic, tie a secure knot. If you're using wire, use crimp beads to hold the ends in place. You can also add a clasp for extra security.
- Trim the excess: Snip off any extra stringing material.
And that's it! You've created your very own beaded bracelet! Now go forth and conquer the world... or at least impress your friends with your mad crafting skills.
Final Thoughts: Making beaded bracelets is a relaxing and rewarding hobby. Don't be afraid to make mistakes – that's how you learn! And most importantly, have fun! Remember, it's just beads on a string. (Although, if Léa's birthday is coming up, maybe take it a little more seriously this time).